I’ve recently been getting into collecting and drinking tea. A good friend introduced me to puer tea, which is noteworthy in that it’s designed to improve with age. That aging process, similar to wine, relies on proper storage characteristics. Puer originates in the Yunnan Province of China, and thus the expected aging conditions align roughly with the conditions available there: warmer temperatures and higher humidity, especially compared to my basement where my tea shelf sits.
I could just accept that my tea isn’t going to sit in perfect conditions, but what fun would that be? It seems way more enjoyable to over-engineer some complicated solution.
A word of warning: all of the below accurately describes what I set up. I make no promises about the sound-ness of the approach. It’s possible I’ll end up lighting my storage container on fire, or just ruining my tea.
With that out of the way, there’s basically 2 variables we want to tune: humidity and temperature.
Humidity
When I first starting acquiring tea, I kept it on a shelf in my basement, in essentially a roughly-sorted pile. It turns out that scales really poorly for organization, but it’s also a nightmare for humidity control. I happened to have a cheap clock with a hygrometer, so I knew that my basement idles between 55% and 60% relative humidity. That’s actually on the high end of what I want for a basement, where dampness / moisture are the cause of many miseries. But for tea, it’s on the low side. From what I read, ideally I’d keep things around 70% RH. Thankfully, solving this piece is pretty straightforward: you get a container that’s more-or-less sealable, and you fill it with moisture-producing objects.
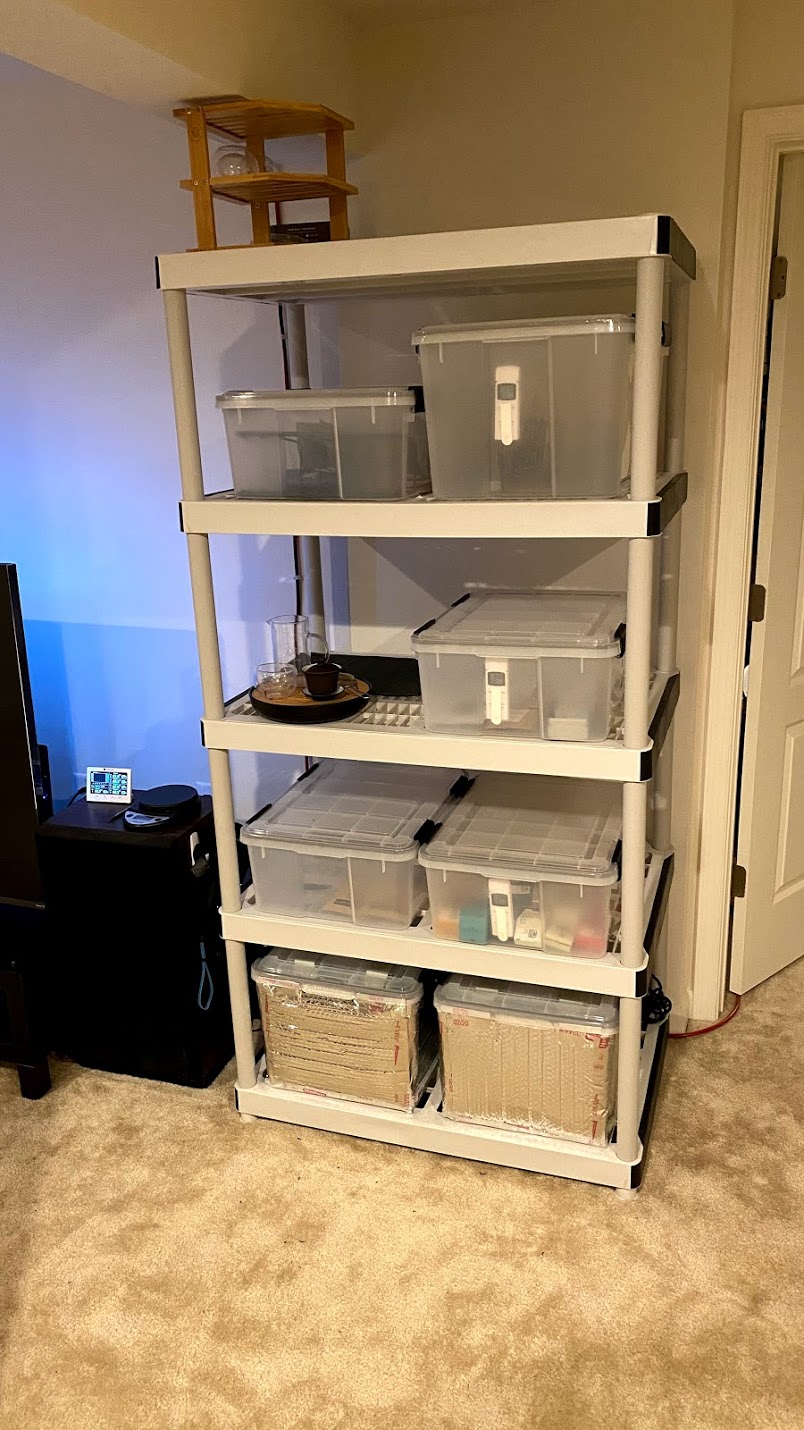
For the container, I picked up a handful of Iris Weathertight plastic bins. My criteria were:
- Has some attempt at a seal around the lid (since I’m trying to keep moisture inside)
- Stackable (the Iris containers got bonus points here because the 46 qt bins are stackable with other 46 qt bins as well as the shorter 30 qt bins)
- Big enough to fit these simple plate racks that I’d picked up to help organize my tea cakes
Once I had the containers, I needed to find a way to regulate the humidity. There are any number of easily-searchable guides for using water / clay / salt / etc to raise the humidity of a container, but I didn’t want to risk sloshing water onto my tea, and these systems struggle to equalize: you have to monitor them so you can remove the water source once you’re at your desired level. Instead, I picked up a box of boveda packs. They’re self-contained and bring the humidity to a defined point.
I picked up a set of cheap battery-operated hygrometers to drop into the containers so I could monitor the results, but in practice the bovedas are super straightforward, and it’s pretty clear that it’s working when you open the lid and take a sniff of the tea.
Temperature
Controlling the temperature turned out to be much more of a rabbit hole. My first thought was “what about those rocks you get for lizard enclosures, so they can warm themselves up”. I did some searching and found a little 4"x6" heating pad with a temperature controller. Seemed pretty easy: put the pad in the plastic bin, set the controller to the desired temp, celebrate. Hah. No.
Here’s what that first attempt looked like (in an empty tub so I don’t immediately ruin my tea):
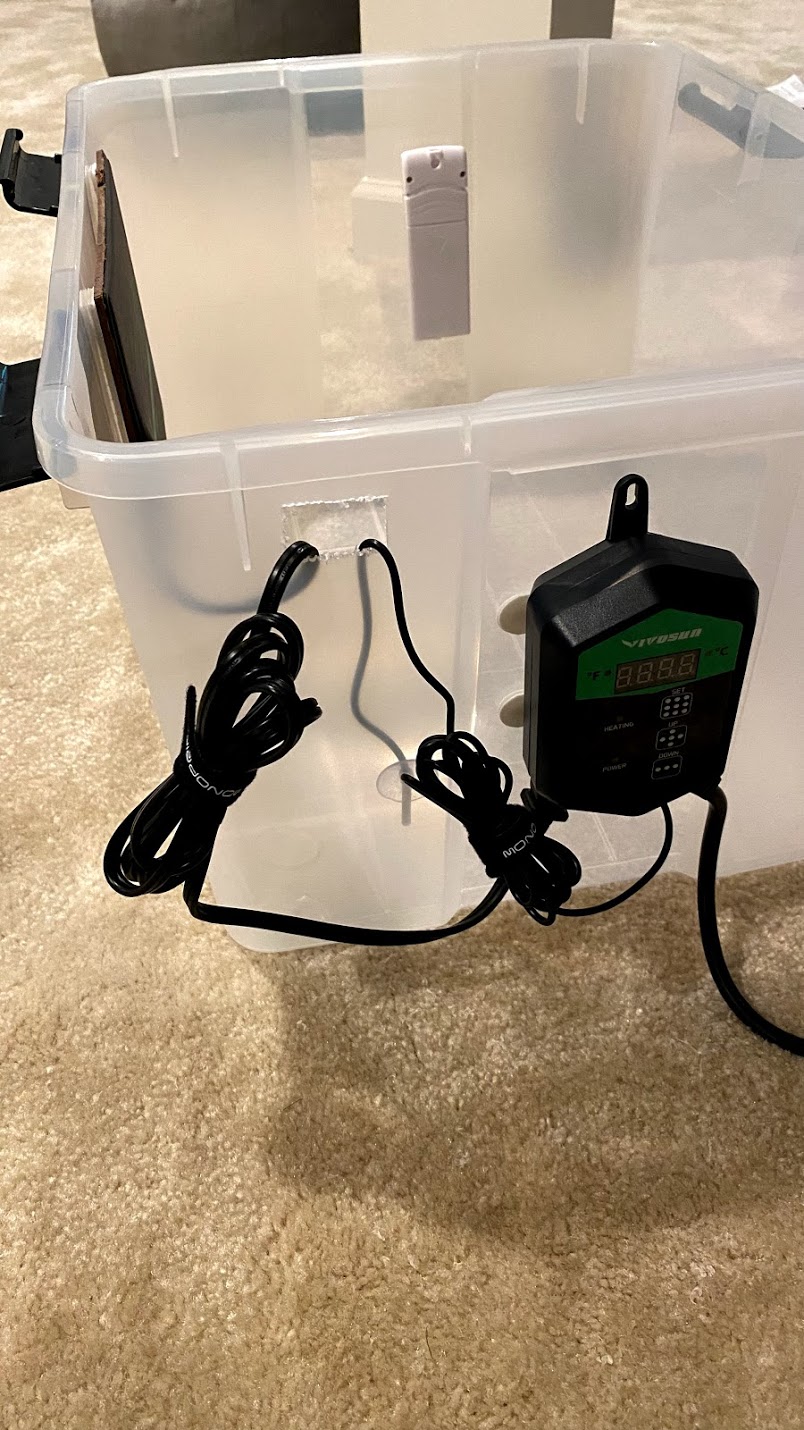
I turned it on, put the lid on, and waited. A few hours later, I’d managed to get the temperature to about 68.5 Fahrenheit… about half a degree warmer than the surrounding room. It was clear this wasn’t going to work out.
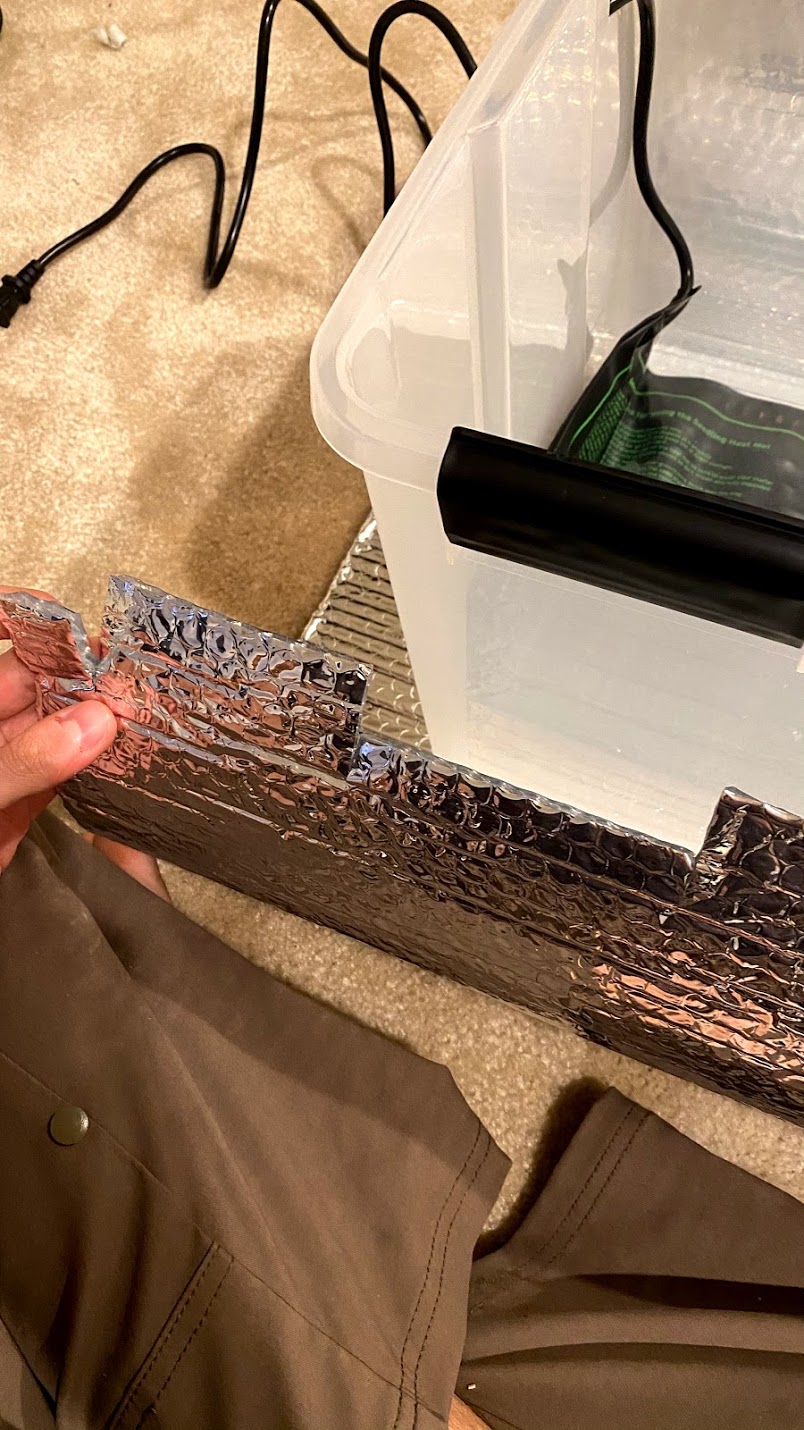
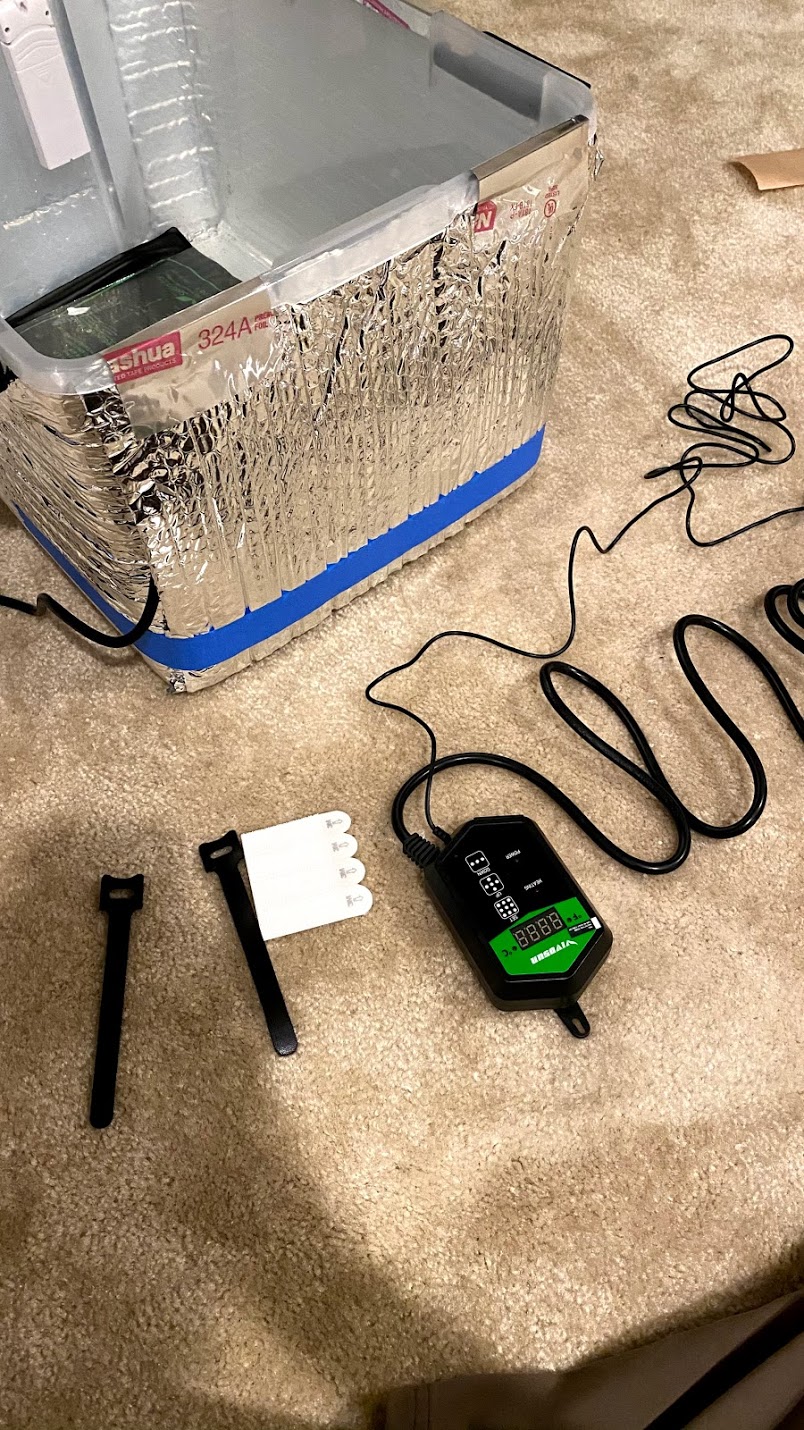
I figured there were two angles to try: more heat (the current heat pad was warm to the touch, but definitely not a furnace) and insulating the container. I decided to try both at once. I picked up a larger 10"x20" heating pad, a roll of foil-based insulation (basically bubble-wrap with tin foil on both sides), and a roll of foil duct tape (the metal kind you use on air ducts, not the stuff you use to tape literally everything else). I also happened to see some glass sheets (about the same size as the heat pad), and picked those up to put between the heat pad and the tea.
I spent the drive home trying to decide how to attach the insulation: inside the container or outside. When I sat down to try it, outside seemed like the obvious winner. The bin has an outward-facing lip at the top, and I was able to cut notches in the foil and tuck it up inside the lip to maximize the coverage:

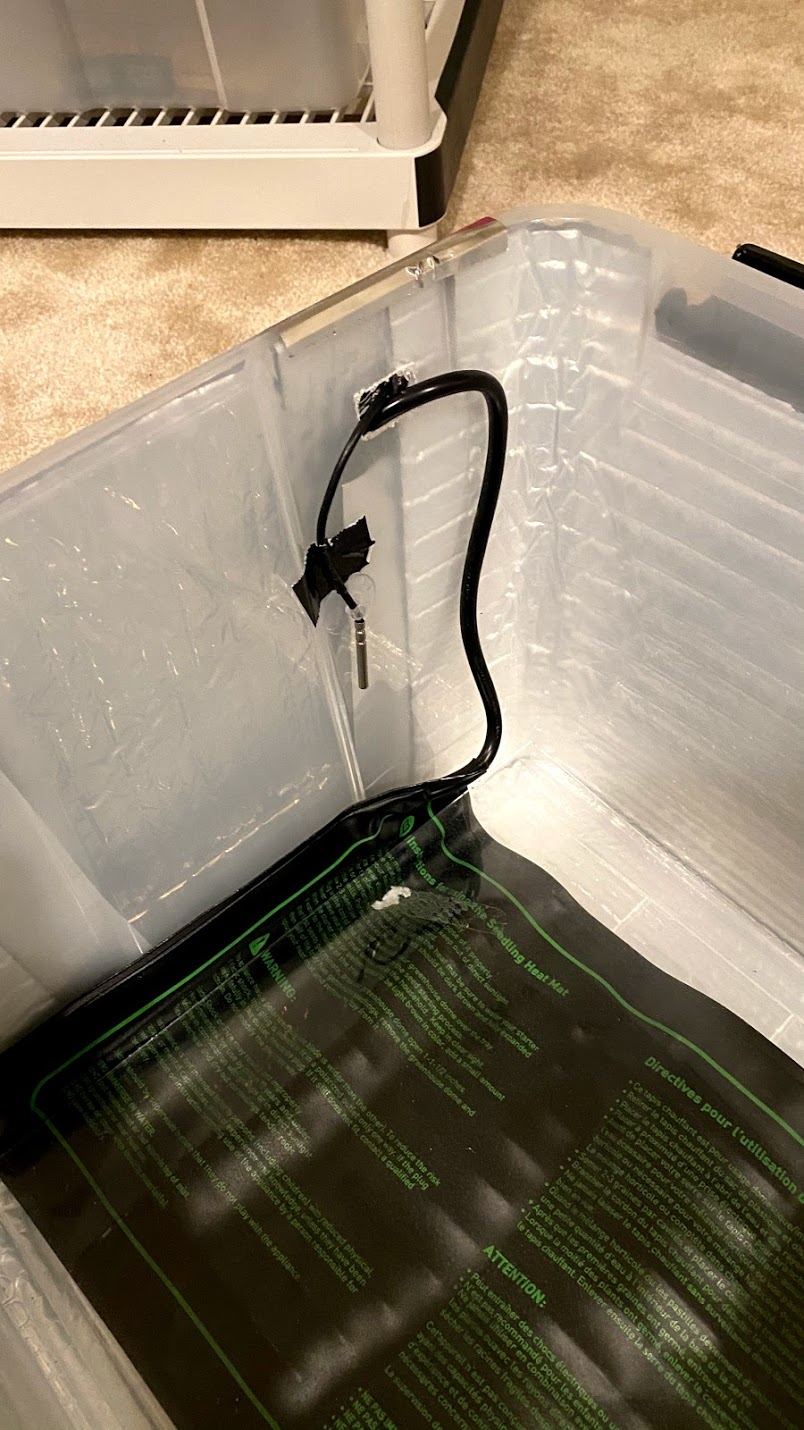
From there, I cut a hole in the bin for the heat pad power cable and set the heat pad / glass inside the bin, as well as the temperature sensor wire for the controller. I clipped the foil so I could round out the corners and used another piece of foil for each of the remaining sides:
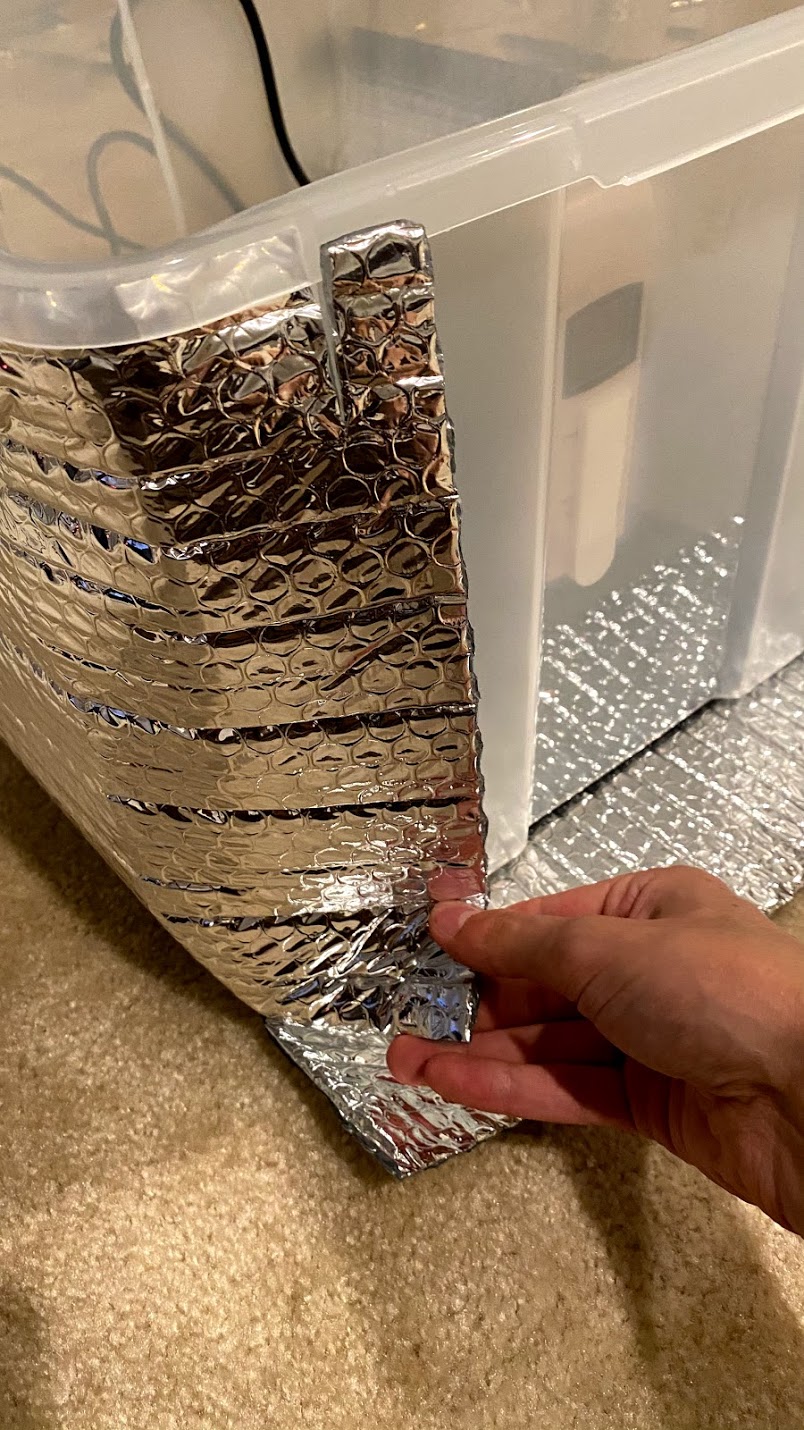
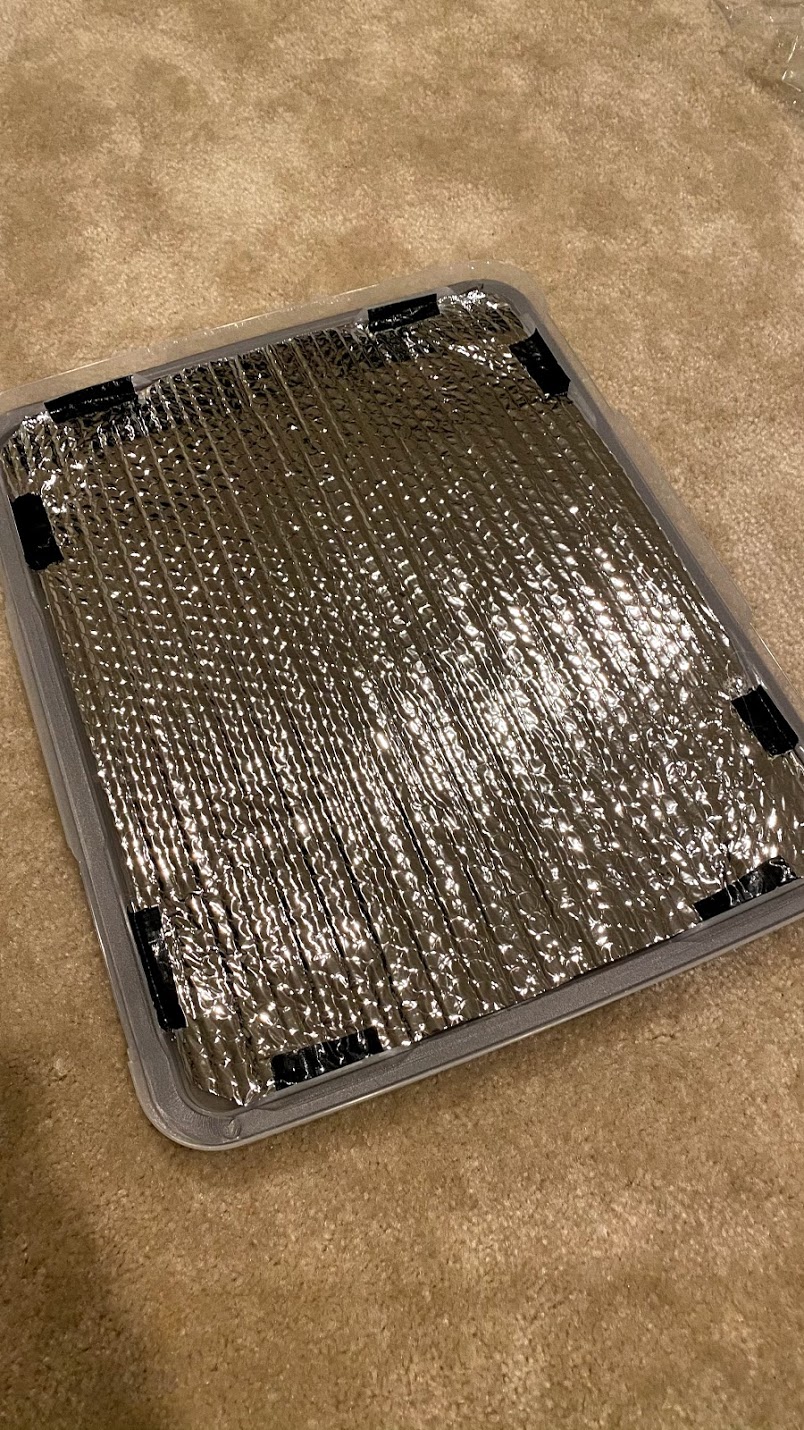
For the lid, I put the foil on the inside, because it seemed to fit better:
And then stuck the controller on the side with Command Strips:
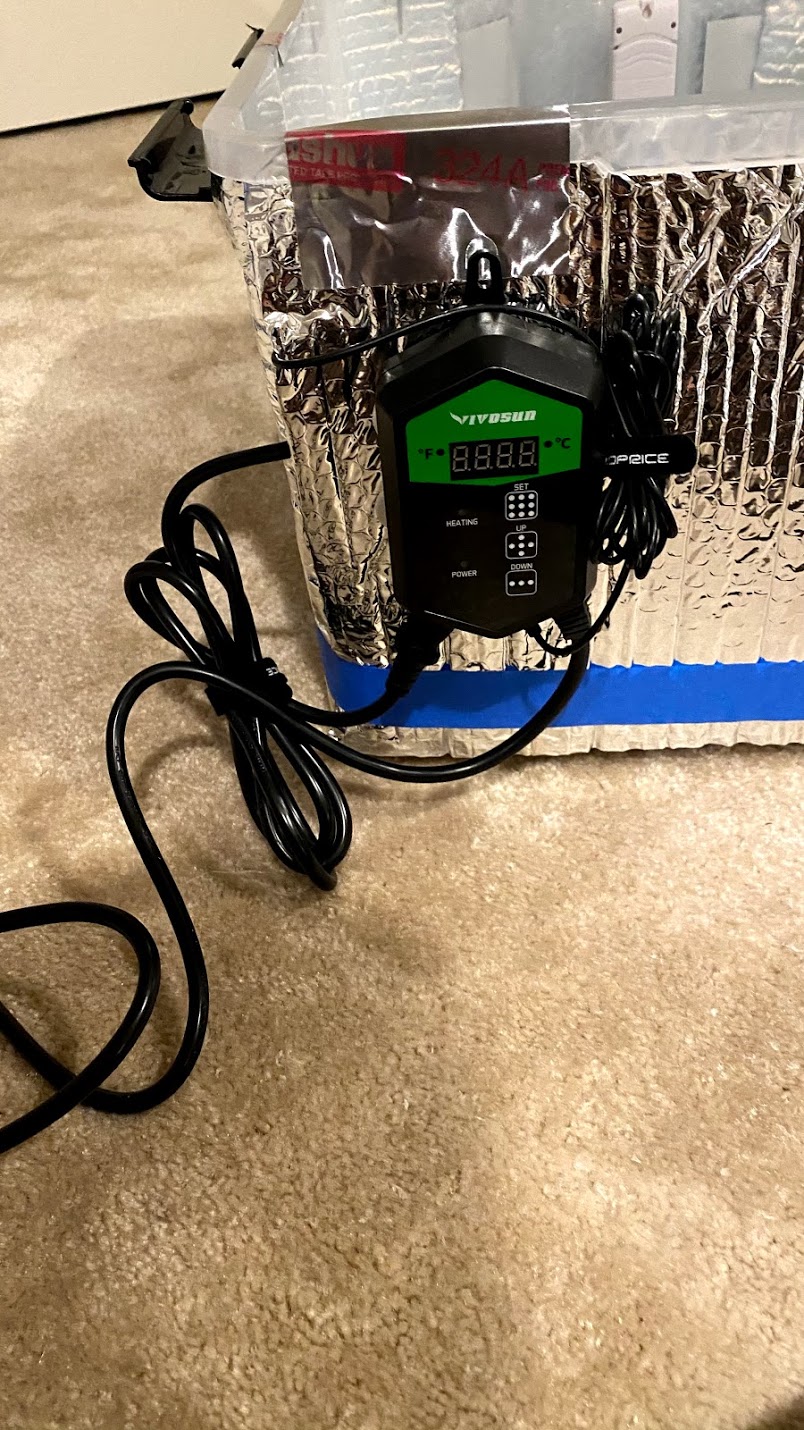
I ended up doing this to two different containers, and now I’ve got them plugged in to stress test them (empty):
I’m probably going to go for a temp around 80F (my basement normally rests between 65 and 70 fahrenheit ambient), but for now I’m stress testing by setting both of them to 90F to see if anything melts / burns / etc. So far, it’s been a few hours and they’re up to 87F. There seems to be a bit of plastic smell that’s been generated, but I suspect that will fade after the initial bake-in.
Next steps
I’ve been working in parallel on improved monitoring/alerting for the temp/humidity sensors. That’s especially important now that I’m injecting extra heat/moisture, to make sure I don’t end up growing a box of mold.
I’m also interested in adding some airflow to the bins via time-controlled fans. Will hopefully have an update on that soon-ish.